To power up a QCX or a QCX+, you need a power source that provides a voltage between 7 and…
Continue Reading- Automatic Magnetic Loop Tuner
- IC-7300 Keyboard
- Icom External Keypad
- PCB
- QRP Labs – QCX
- Soldering
- Sontheimer Bridge
- Z-Match
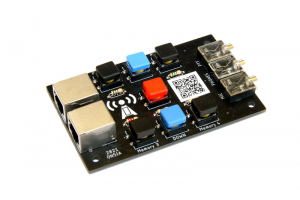
Icom External Keypad V1.20 – Released
I released the project files of the Icom External Keypad V1.20. You can find them on the Icom External Keypad…
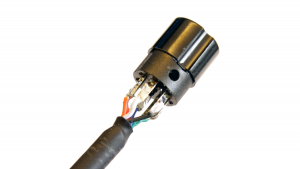
Continue ReadingIcom External Keypad Connector Cable
To connect the external keypad to your Icom radio you’ll need to make a connector cable. For this we use…
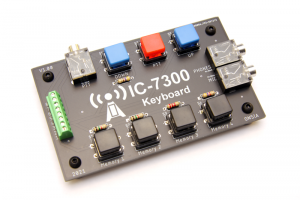
Continue ReadingIC-7300 External Keyboard – V1.00 Finished
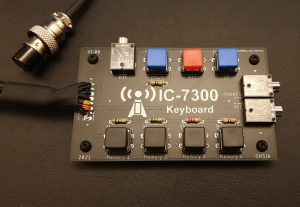
The 8 pin screw connector finally arrived, so last weekend I took some time to assemble the 4 remaining PCB’s…
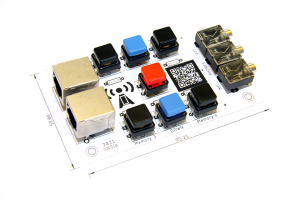
Continue ReadingTest Fitting Of External Keypad V1.20
As I mentioned in my previous post, there were some things that could be improved about the IC-7300 External Keyboard.…
Continue ReadingIcom IC-7300 External Keyboard – Working Prototype
Last week, all but one of the parts to assemble the IC-7300 external keyboard arrived. The missing part is the…
Continue ReadingQRP Labs QCX – DIY Enclosure
For my first QCX, a 40m version, I ordered an ready made enclosure from BaMaTech. For my second QCX, a…
Continue ReadingAliExpress Review 2020
This year comes to an end, time to write an overview of my most interesting purchases on AliExpress. I will…
Continue ReadingIcom IC-7300 External Keyboard – PCB
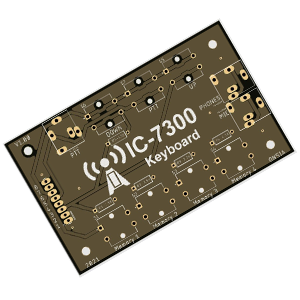
In March 2019 I already made an external keyboard for the IC-7300 in an aluminum enclosure. You can read that…
Continue ReadingQRP Labs QCX – BaMaTech Enclosure
Since PCB revision 5, a cat port has been incorporated on the PCB. As it’s already a tight fit, I…
Continue ReadingQRP Labs QCX – Putting It All Together
Now that the most difficult part of the project is done, we can start soldering all other components to the…
Continue ReadingQRP Labs QCX – Winding The Toroid
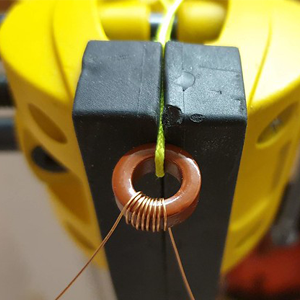
The first thing you need to do with this kit is to wind the toroid. You can do this by…
Continue Reading
