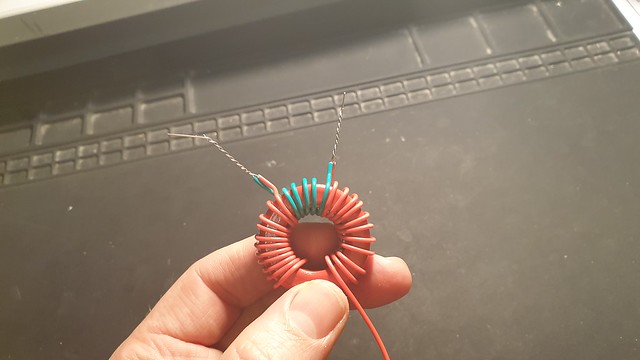
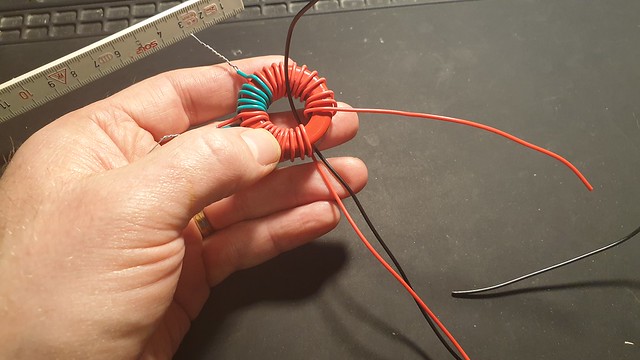
Green wire, 5 turns
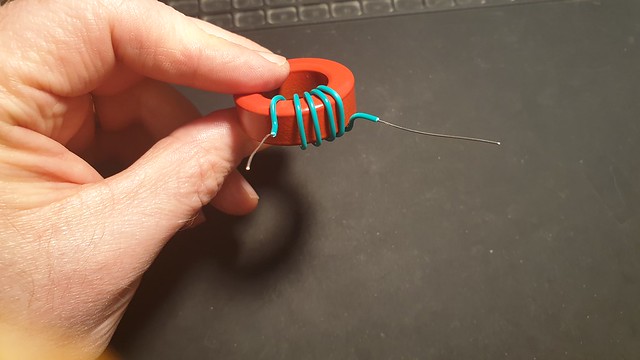
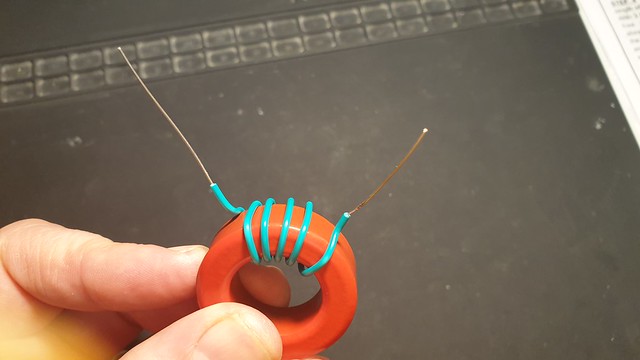
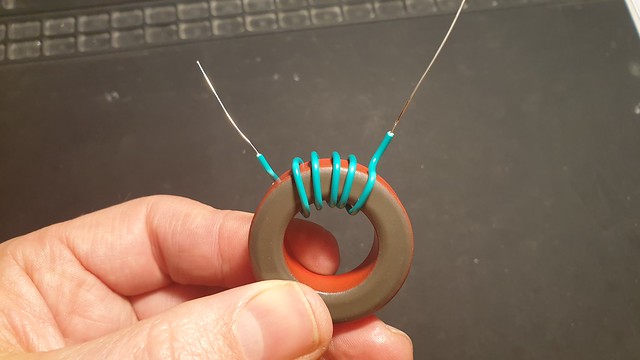
Start with the green wire. In the parts list it is stated this wire should be 38cm, but that’s rather long. Don’t bother cutting it shorter now as it can be easily done when you are ready winding this core. First strip down +- 2 cm of insulation, then make a 90° bend. Position this part of the lead in the middle of the toroid (height) and wind 5 turns. Each time the wire passes through the toroid core is counted as a turn.
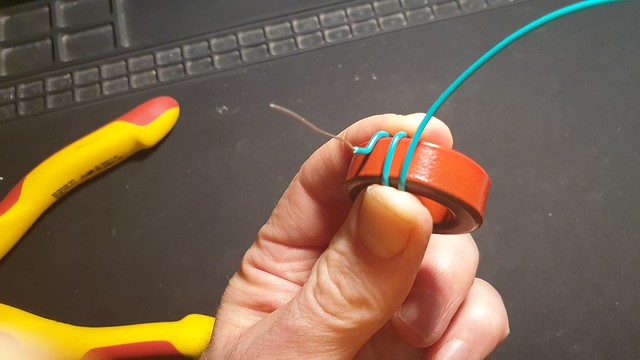
When you’ve made 5 turn, just as in the beginning bend the wire in a 90° angle in the middle of the toroid and strip the remainder of insulation. If all went well you should end up with someting like in the pictures below. You can click on the pictures to enlarge them.
Red wire 1, 11 turns
Choose one of the free ends of the green wire to start with, and twist it together with a piece of red wire (aprox. 55 cm).
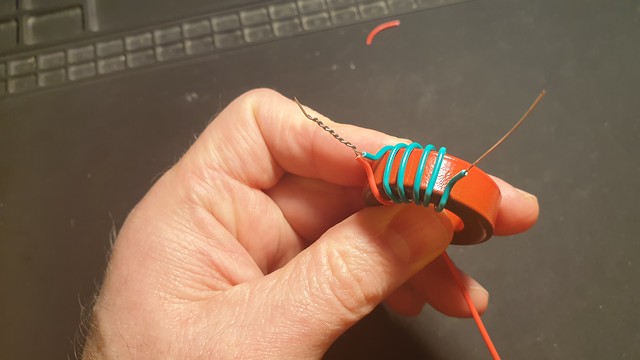
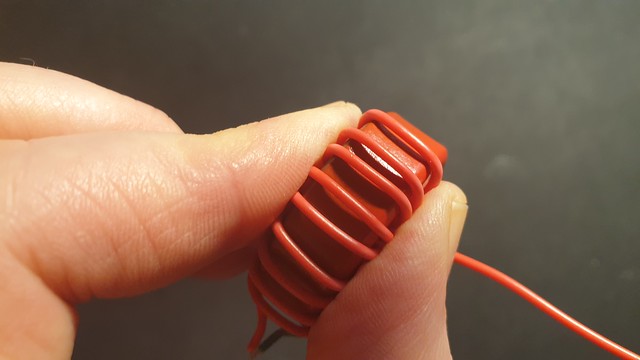
Wind the wire snug on the core and make sure you make 11 turns. A turn is count each time the wire passes the core of the toroid.
Red wire 2, 11 turns
Now do the same with another piece of red wire (aprox 55 cm), but on the other end of the green wire.
Black wire, 7 turns
Take a piece of 50 cm or black wire. Hold 8 cm alongside one of the ends of the red wire and start winding it back over the red wire. Make 7 turns. On the inside of the toroid the black wire migt lay on top of the red wire. On the outside, the black wire should lay between the red wire. Keep it nice and tight. When you’ve made your 7 turns, wist the two black wires together.
Finished product
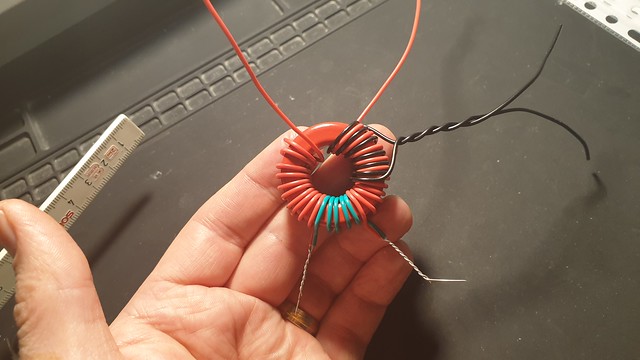
Congratulations, you’ve winded your first toroid for this project.
